How to build a home gym: the complete guide
Building a home gym comes down to four steps: choose a space of at least 6 to 10 m² with enough ceiling height, protect the floor with rubber tiles, invest in the bench, barbell and weights trio to cover most exercises, then add a squat rack once your budget allows. With this method, you build a functional home gym without buying equipment you do not need, and you expand it at the pace of your own progress.
Why take the plunge? Time saved, complete freedom over your schedule, hygiene under your control and a real return compared with a membership: we covered the 8 benefits of a home gym in a dedicated article. Here, we get practical: space, flooring, equipment, budget and exercises. At Uni Strength, we equip hundreds of lifters every year, from beginners who simply want to train at home to fitness and strength enthusiasts building a full gym under their own roof. Here is the method we recommend to them, whatever your level.
How much space do you need for a home gym?
Good news: you do not have to sacrifice your entire garage. A corner of a room, a dry basement, a converted office or part of the garage all make an ideal spot to start training at home. What matters is not raw floor area, but three measurements many people forget to take before ordering:
- Width: an Olympic barbell is 220 cm long. To handle it and load plates comfortably, allow around 3 metres of clear width, which means a working zone of roughly 2 x 3 metres for classic barbell training.
- Ceiling height: our squat cages stand 212 cm tall. Under a standard 2.50 m ceiling, everything fits. Under 2.20 m, the rack still goes in, but pull-ups become awkward: check this before you buy, as it is the most common mistake we see with customers in flats or basements.
- Circulation: keep at least one metre of clearance around the working zone to set down a bench, store plates and move safely.
Think about the room environment too: a power socket for music or a fan, a minimum of ventilation, and natural light if possible. These are details, but they are what makes you want to head down and train in February.
Protecting the floor: the step you should never skip
Before assembling a single piece of strength equipment, deal with the floor. A rubber floor absorbs impact and vibration, protects your tiles or concrete, cuts noise for the neighbours and stabilises your equipment. There are three options:
- Rubber tiles: the most common and most modular solution. A thickness of 15 to 20 mm suits classic strength training, and you go up to 30 mm or more if you set heavy loads down on the floor, as in the deadlift.
- A protective mat or a dedicated platform: ideal under a deadlift or weightlifting zone, where the bar comes down firmly on every rep.
- Foam tiles: reserved for bodyweight exercises and light equipment, they will not hold a loaded rack.
The practical tip we repeat to every customer: lay your tiles before you assemble the rack, not after. Taking apart a cage weighing more than 100 kg to slide rubber underneath is the kind of session nobody asks for twice.
What equipment do you need for a complete home gym?
The equipment list depends on your goals: general conditioning, muscle gain, powerlifting or cross training. In practice, though, almost every serious home gym is built in the same order. Here it is.
The starting trio: bench, barbell and weights
This is the foundation. A stable weight bench, an Olympic barbell and a set of plates on their own cover most of the fundamental exercises: bench press, rows, Romanian deadlift, hip thrust, Bulgarian split squat, curls and triceps extensions. A flat bench favours stability and heavy loads, while an adjustable bench (incline, and sometimes decline) multiplies the working angles for more complete training.
When it comes to barbells and weight plates, one simple principle guides the purchase: free weights are what you keep the longest. A good Olympic bar and a stock of plates will follow you for years, whatever else you add later. To start, around a hundred kilos of plates is plenty, and you top up pair by pair as you progress.
The rack: the centrepiece
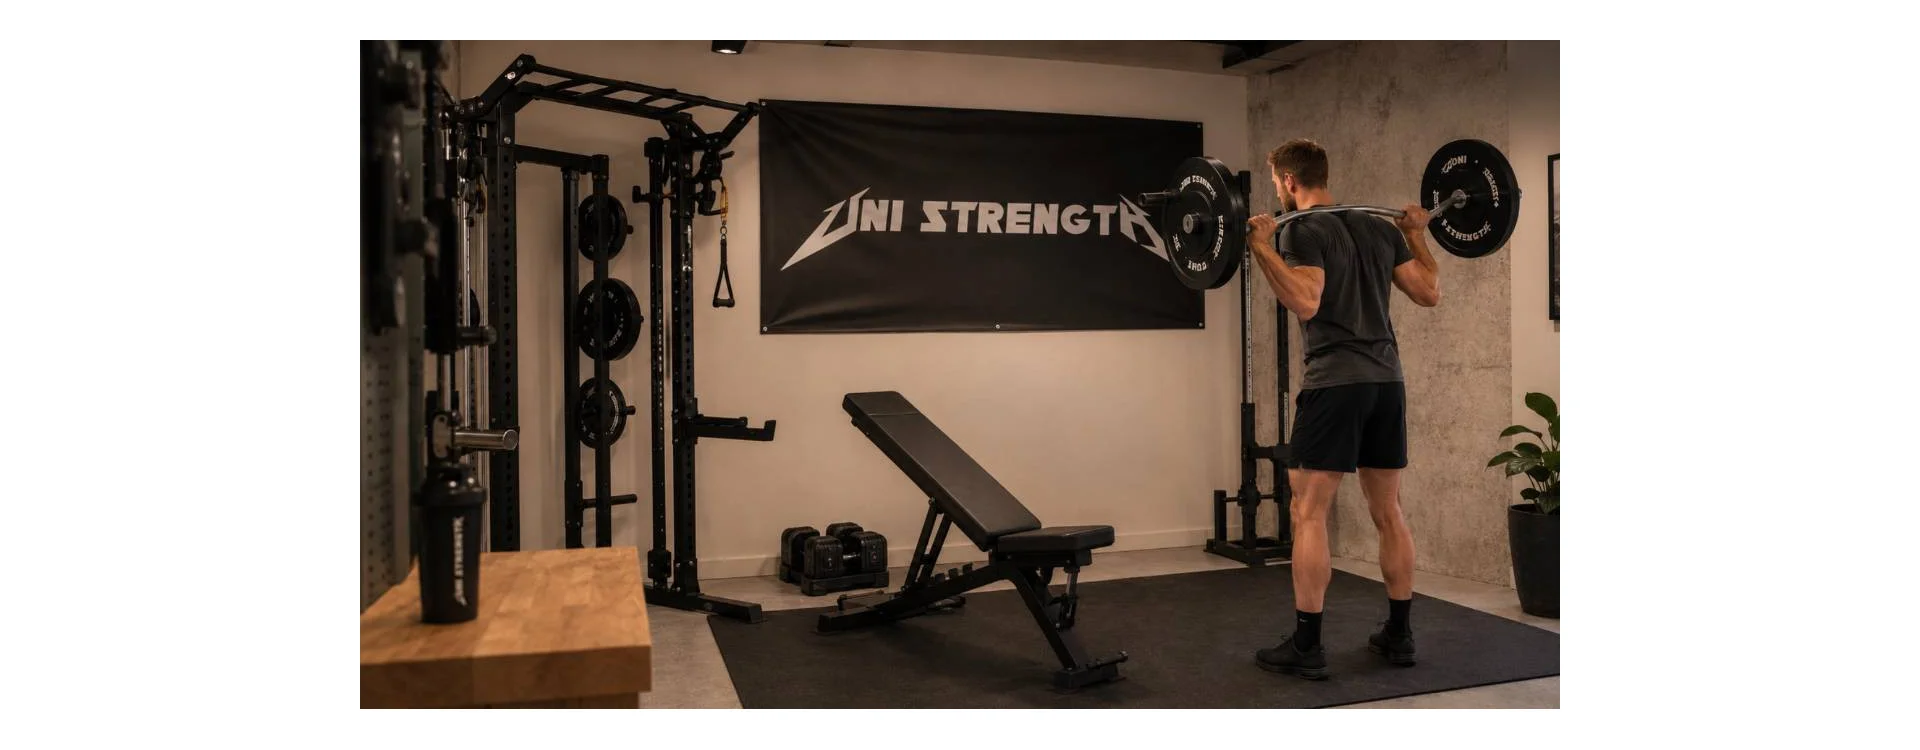
As soon as you want to squat heavy and bench press safely without a partner, the squat rack becomes essential. It is the piece of equipment that turns a training corner into a real gym. Several formats exist depending on your space:
- The power rack (or squat cage): four uprights, adjustable safety bars, J-hooks and an integrated pull-up bar. It is the most complete and safest format for training alone.
- The half rack: two main uprights and a compact format with a reduced footprint, for anyone short on depth.
- The folding rack: it folds flat against the wall in seconds, a real space saver when the home gym shares the garage with the car.
- The cable pulley station: some racks include a high and low pulley, or even a weight stack, and turn into a multi station covering pulldowns, extensions and isolation work. A well accessorised power rack replaces several machines on its own.
One technical criterion to check before any purchase: load capacity. Aim for at least 300 to 350 kg so the rack takes slightly rough bar returns at the end of a set without flinching. Look at modularity too: a rack compatible with accessories (pulley, dip station, plate storage, monolift) grows with you instead of being replaced.
Complementary equipment
Once the base is in place, add to it according to your priorities and the space left:
- Dumbbells: a pair of adjustable dumbbells replaces a whole rack of fixed ones, a smart choice in a home gym where every square metre counts.
- Kettlebells for ballistic work, dynamic core training and cross training.
- A pull-up bar or a Roman chair: if your rack does not include one, a freestanding power tower adds pull-ups, dips and leg raises.
- Resistance bands, spare collars and a timer to structure your sessions.
- A yoga mat for stretching, mobility and floor abdominal work.
- Cardio if space allows: a treadmill, a rower or an exercise bike round out your conditioning, but these fitness machines stay bulky. In a small space, a skipping rope or a compact bike already does a great job. Without a machine, walking remains the simplest cardio: see walking 10,000 steps a day.
- A targeted machine (standalone cable pulley, leg press, leg machine): save this for later, once the fundamentals are covered.
| Equipment | Main use | Priority |
|---|---|---|
| Rubber tiles | Floor protection, noise reduction | Essential, from day one |
| Weight bench | Presses, rows, hip thrust, Bulgarian split squat | Essential |
| Olympic barbell + plates | Every basic free weight movement | Essential |
| Squat rack | Safe squats, bench press and pull-ups | Strongly recommended, second stage |
| Dumbbells and kettlebells | Unilateral work, isolation, cross training | Recommended |
| Pulley, machines, cardio | Isolation, volume, conditioning | Optional, depending on space and budget |
Setting up your home gym: the finishing touches that change everything
Once the bulk of the equipment is in place, the layout makes the difference between a corner where you train and a real fitness space you want to come back to. A few simple ideas, none of them requiring building work:
- A wall mirror: the most underrated tool in a home gym. It lets you watch your form on every movement and correct your technique on your own, just like in a professional facility.
- Storage: storage racks for plates and dumbbells free up floor space and prevent the clutter that puts you off. A tidy training space is a room you actually use.
- A speaker for music and, if the room is closed, a fan: ventilation drives comfort as much as your choice of machines does.
- A personal touch: posters, lighting, colours. Your home gym should look like you, and that is part of what keeps motivation alive over time.
When it comes to layout, the rule is the same as for choosing equipment: keep it simple at first, then improve month after month. A mirror and a storage rack already transform the experience, without excessive spending.
Building a home gym on a budget: how to spend wisely
Let us be honest from the start: a cheap home gym is never free. Strength equipment able to take heavy loads for years has an unavoidable cost, and entry level gear from general retailers too often ends up scrapped after a few months. So the real question is not how to spend as little as possible, but how to spend in the right order. Here is how.
Start small: the bench, barbell and weights trio
To begin with, there is no need to buy everything at once. A flat bench, an Olympic barbell and a few pairs of plates are enough to build complete upper and lower body sessions. At Uni Strength, this starting setup stays accessible: a sturdy flat bench from €239.99, an Olympic barbell from €129.99 and cast iron Olympic plates from €9.99 a pair. In practice, the basic trio with its first plates comes to under €500, roughly the equivalent of a year of gym membership. The difference: this equipment is yours, and it will last far longer than a year.
Save in the right places
Not all savings are equal. Two simple rules, drawn from experience:
- Never save on the barbell. It is the piece of equipment that carries the load above you. A low quality bar that bends or snaps mid set can cause serious injury. A decent Olympic bar is a safety investment first and foremost.
- Do save on the plates. Classic cast iron plates do exactly the same job as premium models for general strength training. Keep bumpers and calibrated plates for weightlifters and powerlifters who genuinely need them.
Another lever too few people use: take advantage of delivery thresholds. Free shipping applies in mainland France from €300 excl. VAT of purchase, and payment in instalments lets you spread the cost instead of waiting months to get equipped. Look at packs bundling cage, pulley and accessories too: they almost always work out cheaper than the same items bought individually.
Second hand equipment: good idea or false economy?
Buying used can look like the royal road to a cheap home gym, but it calls for judgement. Second hand cast iron plates are an excellent deal: they barely wear out and a little surface rust changes nothing about how they work. Used barbells and benches, on the other hand, are best avoided: micro-cracks, a tired bearing or collapsed padding do not show up in a listing, and these items bear directly on your safety. Add the absence of warranty and after-sales support, and the money saved can quickly turn into double spending. Our expert view: second hand for the iron, new for anything that carries or supports the load, with a trusted seller in both cases.
The rack: pricier, but far more complete
The rack is the second biggest line in the budget, and that is normal: it is also the piece of equipment that unlocks the most exercises. A serious entry level squat cage starts at €399.99, with a 350 kg load capacity that covers the vast majority of lifters. It is not a small sum, but set against the movements it makes possible in safety (squat, bench press, overhead press, pull-ups), it is one of the best cost-to-usefulness ratios in the whole home gym.
And this is where a progressive buying logic makes complete sense: start with the bench, barbell and weights trio, train for a few months, then add the rack once the budget has recovered. Choose a modular model from the outset: you will be able to graft on a high and low pulley, a dip station or plate storage later, instead of buying a whole new structure. A home gym is not built in a weekend, it is built intelligently.
What exercises can you do in a home gym?
A well designed home gym does not limit your training, it structures it. With the starting trio alone, you already cover the whole body: bench press and flyes for the chest, rows for the back, seated press for the shoulders, curls and skullcrushers for the arms, hip thrusts and Bulgarian split squats for legs and glutes. We listed every exercise you can do on a weight bench, upper and lower body included: enough to build months of sessions without adding anything.
The arrival of the rack then opens up the most productive movements in strength training: barbell squats, bench press protected by the safety bars, overhead press, pull-ups and dips on the accessories. For the lower body, which remains the weak point of many people training at home, we compiled the best exercises to build your legs, with and without machines: most of them work perfectly in a home gym equipped with a barbell and a bench.
Do not forget core and abdominal work either: crunches on the bench, hanging leg raises from the rack pull-up bar, planks on the yoga mat. It all happens on the spot, with nothing else to buy.
One last piece of organisational advice: follow a proper strength programme rather than stringing exercises together on instinct, and progress in a structured way. Consistency and progressive overload count for more than the amount of equipment. That is the paradox we see with our customers: the ones who progress fastest are not those with the biggest room, but those with a plan they stick to, three sessions a week, at home, with no commute.
To go further in the shop: Squat racks and power racks, Weight benches, Weight plates. Also worth reading: the 8 advantages of a home gym.
Home gym equipment, station by station
| Station | Equipment | Key figure |
|---|---|---|
| Floor | Protective rubber tiles | 100 x 100 cm, 15, 25 or 30 mm thick |
| Rack | CS-Basic squat rack | 212 x 122 x 122 cm, 5 x 5 cm uprights |
| Bench | UF-5 Plus incline bench | 500 kg maximum load, 4 cm gap between backrest and seat |
| Bar | UF Basic Olympic bar | 220 cm, 20 kg, 50 mm sleeves, 350 kg maximum load |
| Plates (budget) | Cast iron Olympic plates | 50 mm hole, 2 % tolerance from 10 kg |
| Plates (dropped on the floor) | Bumper plates | 450 mm diameter, 1 % tolerance |
Specifications taken from the product pages on 9 October 2026.
Frequently asked questions
How much space do you need for a home gym?
A working area of about 2 × 3 m with 3 m of free width for a 220 cm Olympic bar, enough ceiling height (our racks are 212 cm; under 2.20 m pull-ups get tricky) and one metre of clearance around it.
Where should you start when building a home gym?
Protect the floor with rubber tiles (15 to 20 mm, 30 mm if you set heavy loads down), then the bench, bar and plates trio, completed later by a rack.
What are the advantages of a home gym?
Time saved, total freedom over your schedule, controlled hygiene and value compared with a membership: we detail them in our article on the 8 advantages of a home gym.